


I’ve got a new toy – and it’s one that’s going to help with my OCR skills almost directly. Last week, I finally ordered something that I’ve been wanting to get for a while, and on Friday my first slackline kit arrived. And I couldn’t be more pleased.
What’s a slackline?
If you’re not familiar with a slackline, it’s basically a length of webbing that is suspended between two sturdy points – like a couple of trees – and then tightened with an included ratchet apparatus. And the idea is to, basically, tightrope walk across it.
Obviously, the number one thing a slackline is going to do for you is increase your balance. It’ll improve the strength of your stabilizer muscles and also make you more likely to be able to control your falls if you have one. It’s also going to improve your mindset – you’re going to have to release some stressful thoughts if you’re on this thing because all your attention will be focused on not falling off. It’s like an active meditation for some folks. Mark Sisson talks about some of the benefits of this at his website.
What’s in a slackline kit?
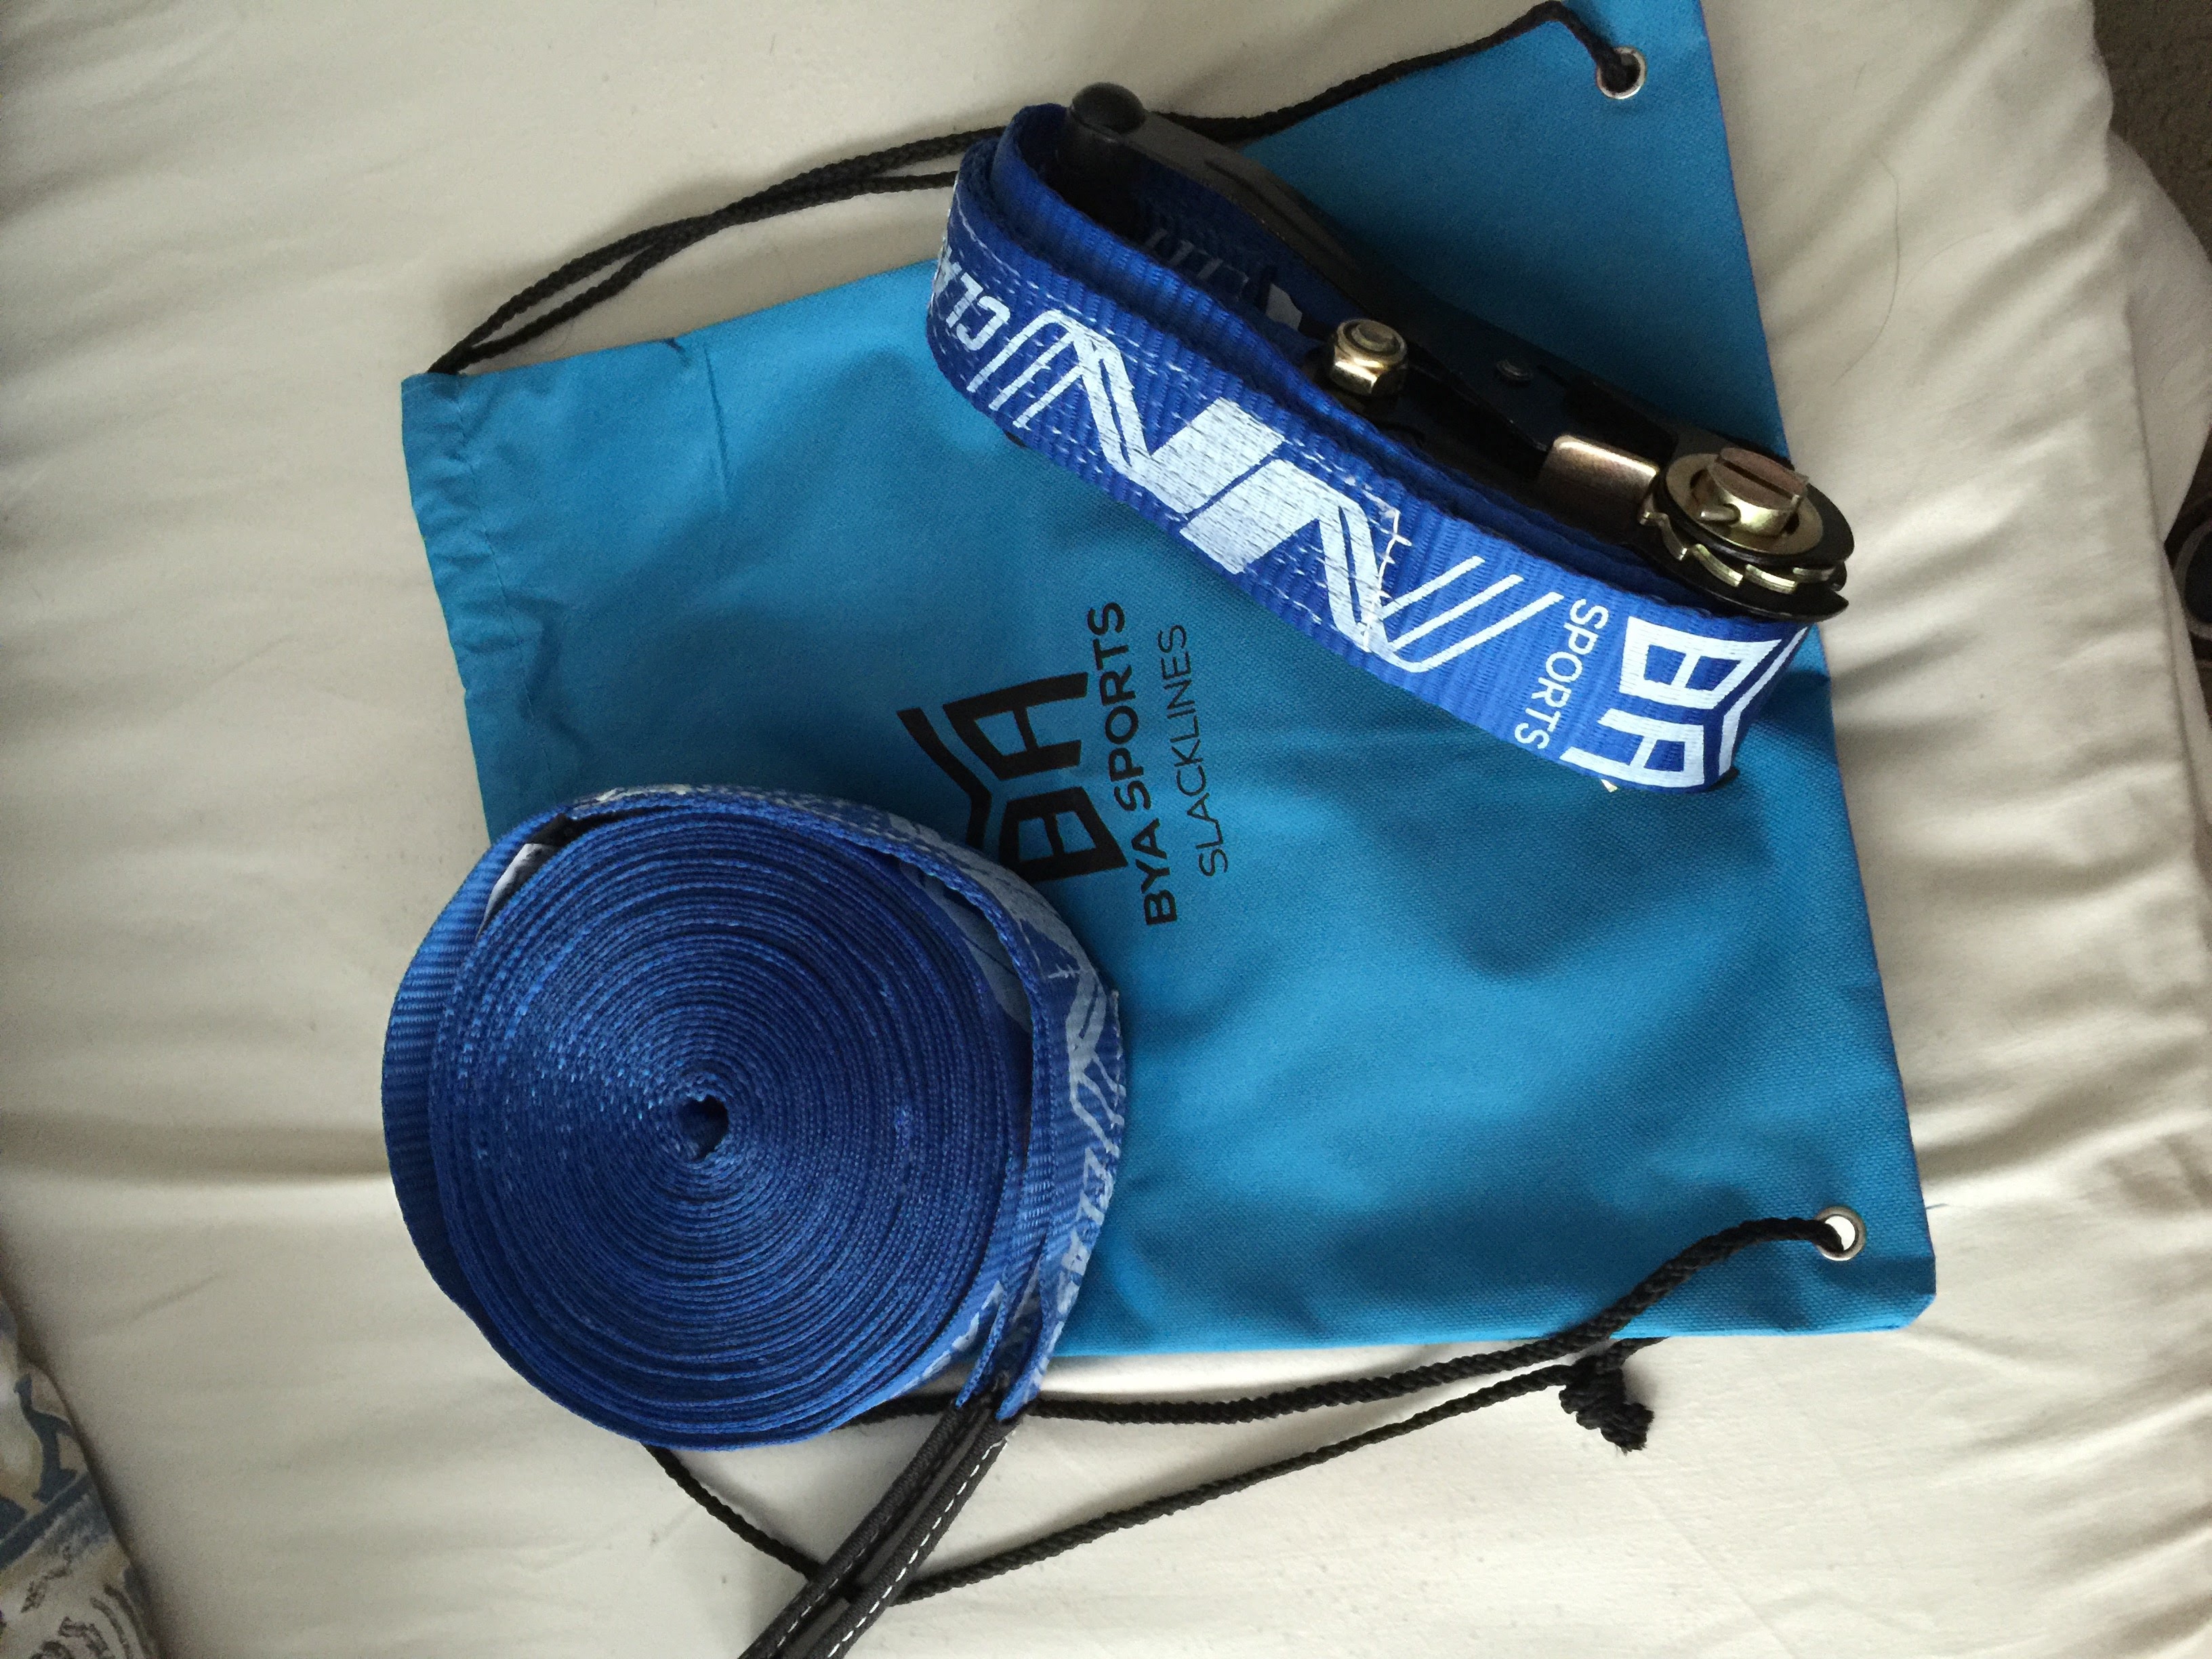
The pieces of a slackline kit: the webbing, the ratchet, and the bag. Yeah, it’s that simple.
The one I have came in three parts: first, a length of webbing with the ratchet attached to it for the end you secure to one of the two standards. Second, there’s a length of webbing with a loop on one end, and that’s the majority of the webbing you’re going to walk on. My slackline is fifty feet long and that’s mostly in the second length of webbing. The third part is the bag that you carry all this stuff in. Yes, it’s that simple.
It’s also suggested that you get some old towels, carpet pieces, or even some of these sorts of pads to put under the webbing against the tree or whatever you use – this will protect both the tree and your webbing in the long run.
But no one said it was easy. Follow the instructions to set it up, and then get going.
What you’re going to want to do is to simply try to stand on it on one foot at first. This is actually much easier than two feet when you’re starting out and will help you to get the hang of its movement. And yes, this thing is going to move.
When a slackline shakes, and shake it will, it does what some of the long-time slackliners call a sewing-machine. Basically, it’ll shake back and forth, left to right, as you try to stand on it. The muscles in your leg that are trying to stabilize you (and would be doing so much better if you weren’t on a wobbly surface) are overcompensating left and right and you need to do your best to simply calm yourself down and just chill.
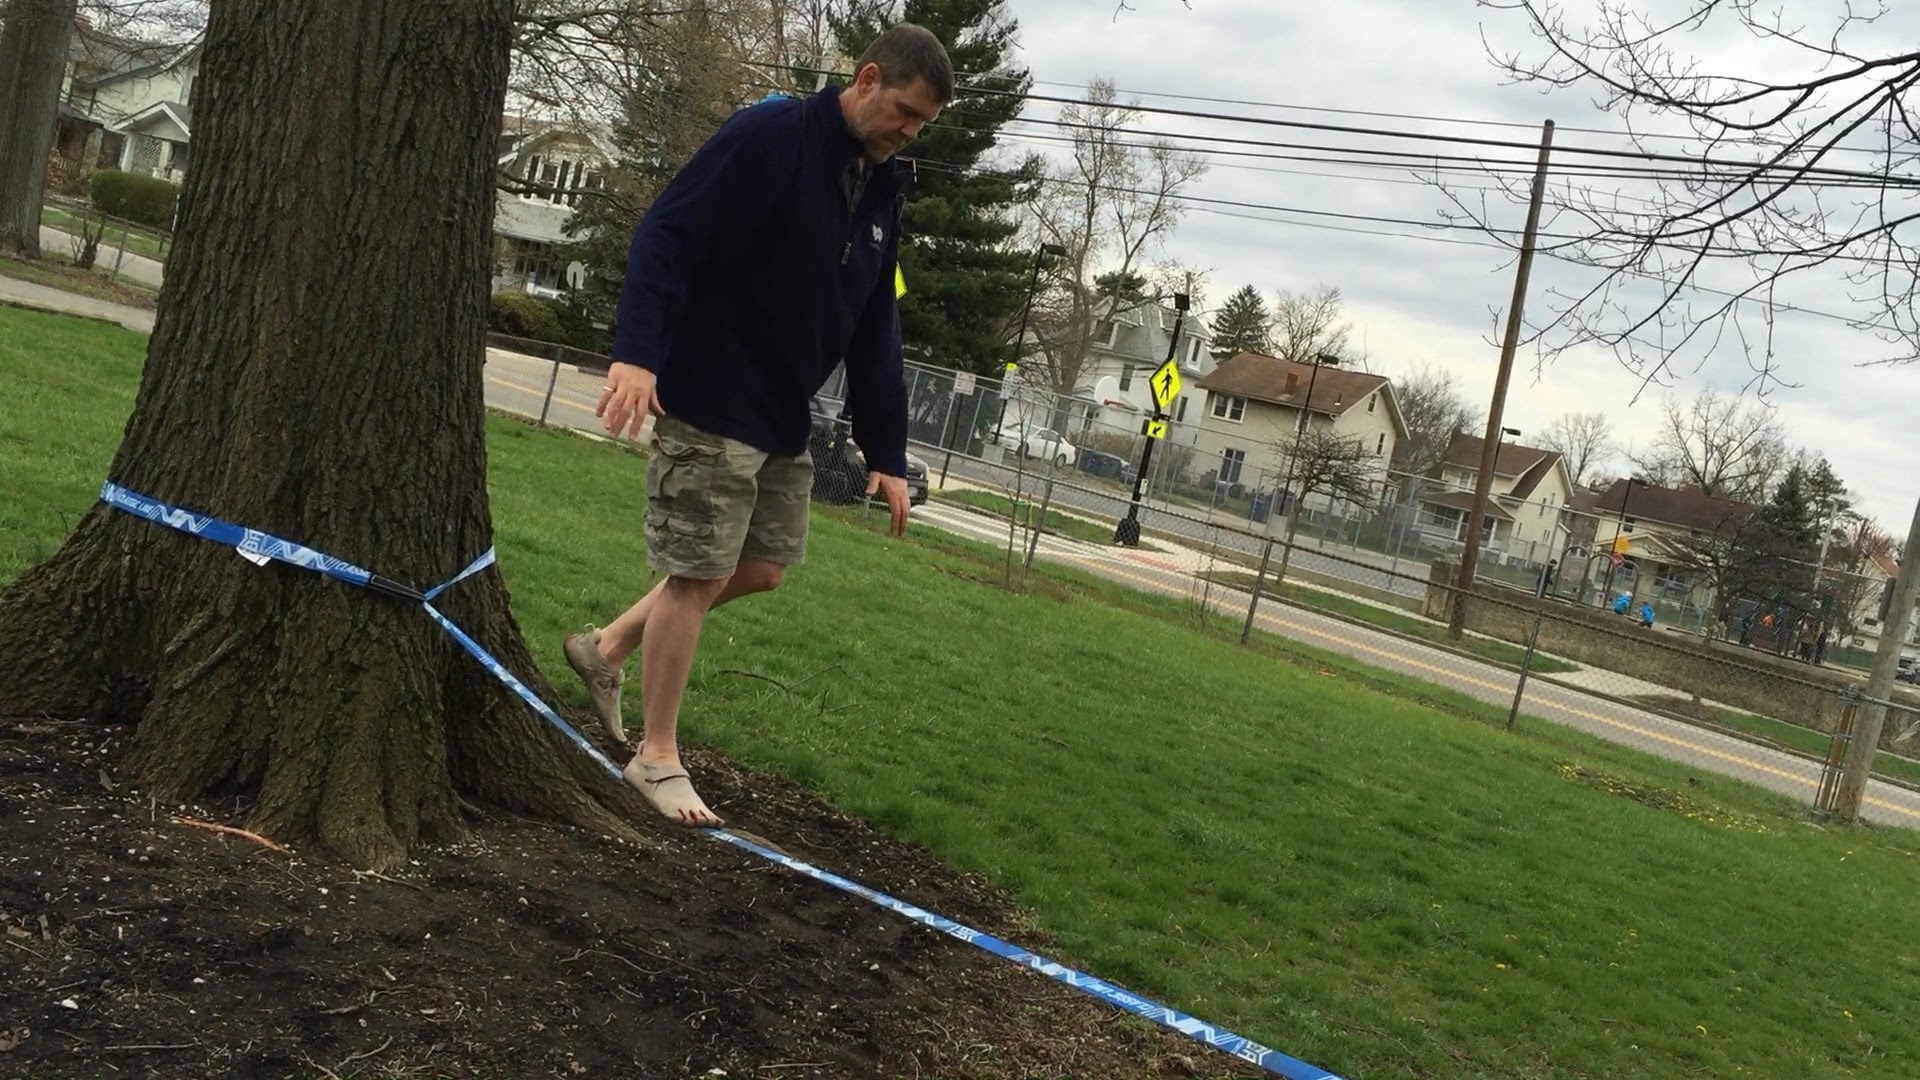
My first steps onto the slackline were tenuous, but it got easier as I tried.
When I first hopped on, you could have made my kids halloween costumes with the sewing machine leg that I was experiencing. It was really tricky. I thought I had really good balance, but a couple of tries on the slackline let me know rather quickly that this was not the case. But after a few tries (my daughter and I were out there for about an hour playing on it with some friends who saw us) I got to the point where I could take a few tenuous steps, getting about halfway across the approximately 30-foot span we’d set up.
Things I discovered about slackline from the get-go:
- Stepping up onto the slackline with your dominant foot seemed the way to go. If you have a foot that you generally kick a ball with, try starting with that.
- Step up slowly with that dominant foot and take a moment to get your balance as much as you can with that one foot. Start right next to the line and just step right up, in a controlled manner.
- Don’t look at the line right in front of you. I had more success with I looked at the end of the slackline instead of right in front of me. Your results may vary there but experiment and see what position works best for you.
- I liked trying it with my Vibram Fivefingers on (wore the KSO model last night) because I could sort of let the line run under my middle three toes and let the big toe and pinky toe sort of grab on around it. I’ve also heard it’s good to try it barefoot, but it was a bit chilly for that yesterday.
- Just chill. No one is going to get it the first time unless you’ve been a circus performer. Have fun with the process. And don’t just make “getting to the end” a goal. Make regular, easy balance on it the goal. Make taking a few steps the goal. Make seeing how long you can stand on one leg the goal, or being able to stand on either leg for a minute or something. Make turning around on it a goal if you can. The sky’s the limit.
- It’s going to attract people to it – we had friends stop by as they were walking past us and want to try it out. That’s part of the fun, I think.
- There are a TON of videos of people who do tricks on these things if you’re interested in taking it to the next level. Don’t start with these, obviously, but know that there’s a lot of fun to be had!
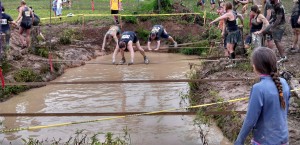
The slackline obstacle at Mud Ninja.
One of the obstacles that is a mainstay at one of my favorite races is a slackline over a mud pit (obviously!). In the past, I’ve army crawled across it. Other people suspend themselves between two slacklines to get across. This year, a goal of mine is going to be to walk it. It’s at the end of the race in the last few mud hills/pits, so I’ll be tired, but it’s going to be fun to try – and if I can, it’ll save me a lot of pulling and pushing that will benefit me through the last leg of the race.
What about you? Have you ever slacklined? Share in the comments below or on our message board!
