


 Suspension Trainer workouts are a fantastic way to improve your functional strength!
It’s not often that a workout tool is easy and hard all at once, but one of my favorites, the suspension trainer, certainly fits that bill.
Witness ye all… the Suspension Trainer.
A suspension trainer really couldn’t be simpler. It’s a piece of webbing with some adjustable handles (and newer models also have footholds) on it. That’s it. You toss it over a tree branch, swing set, or whatever, and you go to town on it.
That being said… it’s going to hit your muscles in ways that you didn’t know was possible. Pull-ups, upright rows, push-ups, dips, and a whole lot more are all possible. Check out the video I made in response to a Periscope broadcast I did last Sunday:
<p
The video pretty much tells it all, but there are some notes I’d like to make (some of which I also made in the video):
There are several models of these things. IMHO, they’re pretty much interchangeable at this point.
I’m using a Lifeline Jungle Gym XT by Lifeline Fitness. The newer model (the link to the left) has footholds on it as well as the separated straps for even more exercises. The one I’m using in the video only has handholds.
The most popular model is the TRX Trainer, created by Navy SEALs. There are other models as well, and even instructions for making your own.
Be ready for whatever surface you hang your suspension trainer from.
In the video above, I hung it from a swing set. The surface of the swing set was a little slippery, as you could see in the middle of the push-ups set I did where I had to readjust the handles because they were getting uneven. The transition between exercises is always fast, but it’s faster when you’re not fighting with the slippery factor.
Wood surfaces are best for the type of trainer I have – if you have a model where there are two separated straps, you don’t even have to worry as much about that.
Start slow.
These things are so effective because they not only work the main muscle groups in whatever exercise you’re doing, but all the shaking and form correction you have to do because you’re hanging from webbing instead of something solid like a pull-up bar stresses the stabilizer muscles in your body. Stabilizer muscles are small muscles that connect the larger muscles and help them to function by keeping them… well, stabilized.
But if you’re not used to this type of workout or have been working on machines and such, your stabilizer muscles haven’t had this kind of work before. Take it easy. Do one set of each exercise till you feel comfortable with it, then move on to two sets, then three, etc. There’s no rush.
Wear long sleeves.
The straps can rub against your arms in some of the exercises and it’s uncomfortable. A long tech shirt (I’m wearing an old Under Armour Cold Gear shirt here under my fleece) is best, in my opinion. This is especially true on the pushing exercises like Push-Ups and Dips.
Notes on individual exercises:
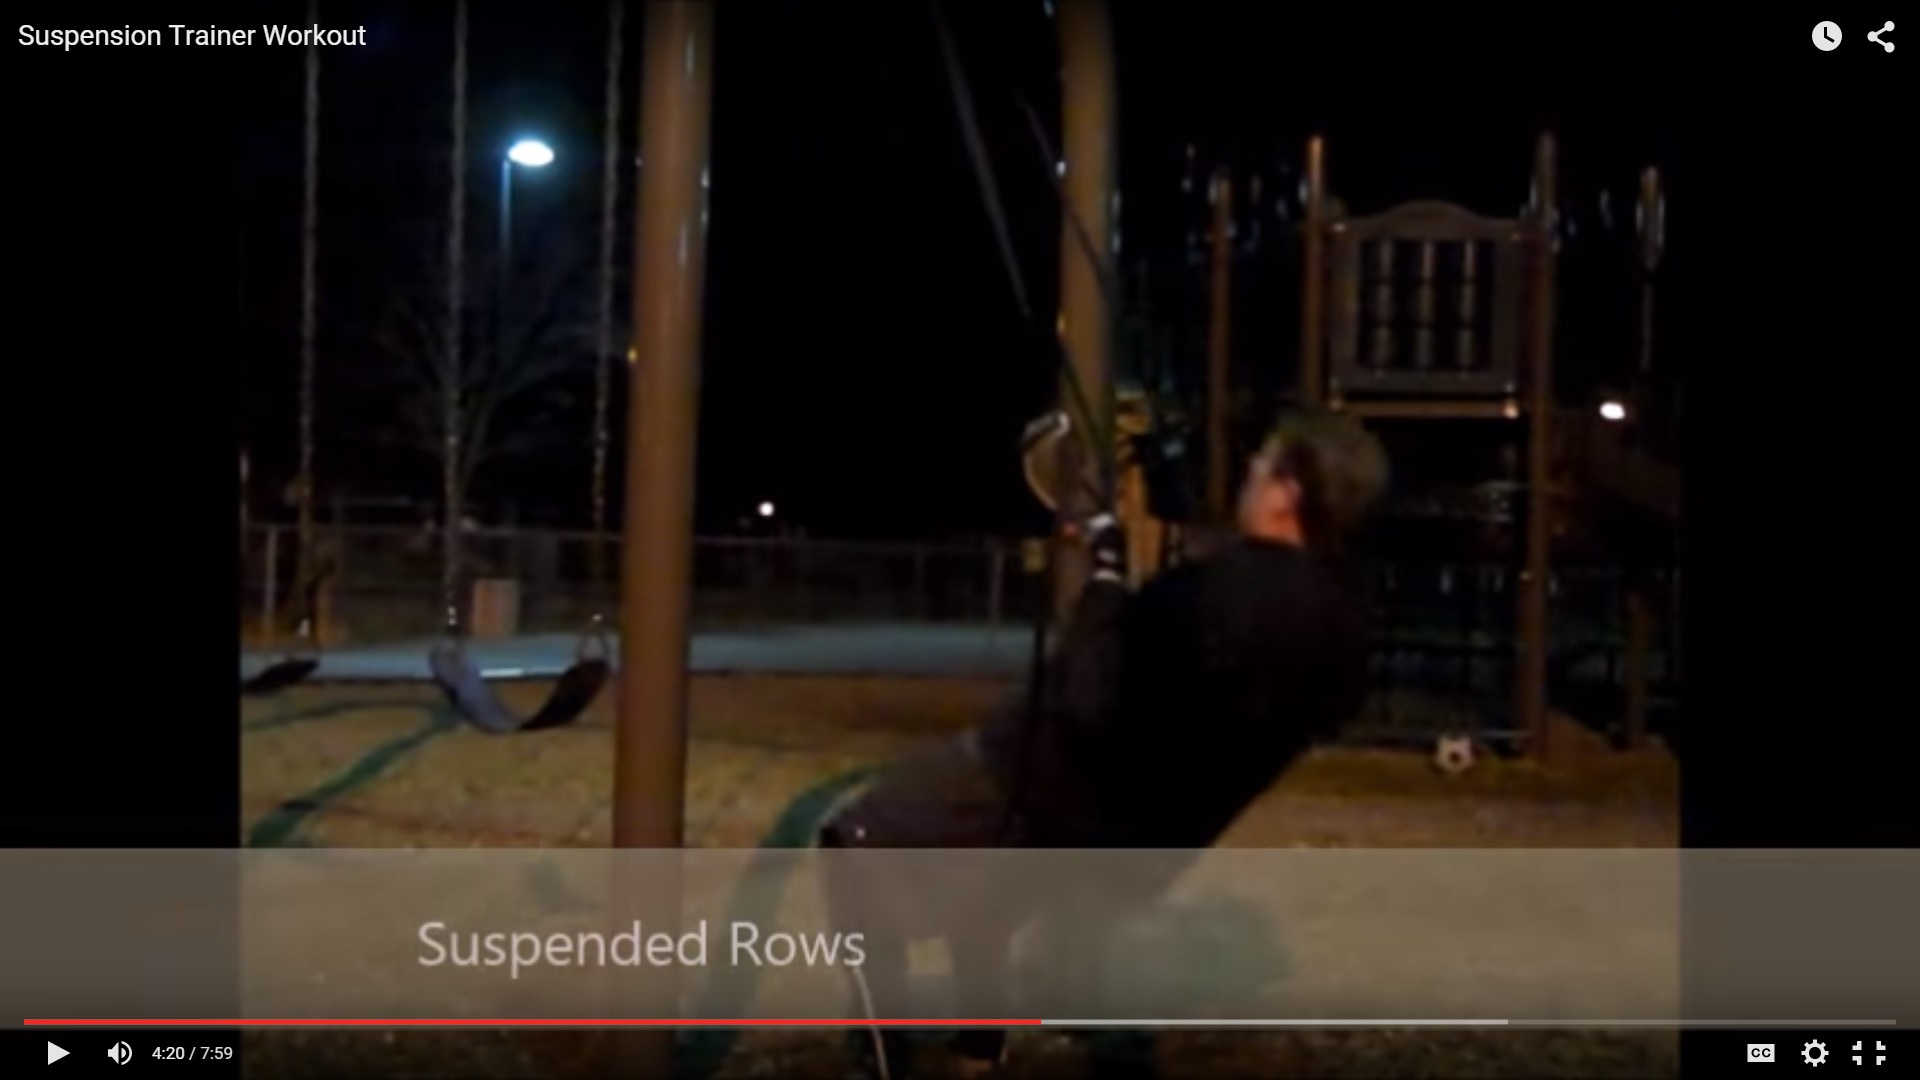
- Pull-ups: note that I’m trying not to use my legs to stand up as I do the pull-up. I’m simply resting my feet on the ground. I point my toes to help fight that impulse to stand as I pull myself to the handles. Moving the handles toward the ground reduces the difficulty. I like to be almost off the ground when I get to the top of the exercise, personally.
- Push-ups: getting the handles equidistant from the ground is key. The handles sometimes slip a little bit as the webbing shifts on whatever the hanging surface is – you’ll see that in the video as I said above. Moving the handles up on the webbing reduces the difficulty if you’re having trouble starting with this.
- Upright Rows: my form in this video isn’t as good as I’d have liked… didn’t realize that till I saw the video. I am trying to keep my hips less bent at the point. Reduce the difficulty by bending your knees more or getting further away from the hang point. Make it harder by straightening your legs or getting closer.
- Dips: make this one harder by straightening your legs in front of you. And once again, try not to use your legs. Make it easier by raising the handles.
Questions? Ever used one of these before and want to chime in on techniques? Chime in below – and I’d be obliged if you’d share this around to friends!
